4.9 Out Of 5.0 Rating

Our Blogs

Most people looking for a van in the UK, either for commercial or personal use, often struggle with whether they should purchase or lease the vehicle. Both the cases have their own pros and cons that should be thoroughly analyzed to make the right decision.

In this article, we’ll discuss the advantages and disadvantages of buying vs. leasing a van to help you decide-

Buying a Van

Pros

1.  You Own the Van

The biggest advantage of buying a van is the ownership it comes with. Unlike leasing where you’re basically renting the van for a specified period, buying gives you ownership of the vehicle.

Even if you purchase the van through a loan, every monthly payment will get you closer to own a vehicle. Once the loan is fully repaid, you’ll be the rightful owner of the van. So, the purchased van is yours to keep and can be a valuable addition to your personal or business assets.

2.  Freedom to Customize the Van

When you’re the owner of the van, you have complete freedom to customize it the way you like. This is especially useful when you need the van for commercial use as you can customize it according to the preferences and specific needs of your business.

Be it adding some specialized equipment, interior modifications, or branding, ownership provides complete flexibility to tailor the van as per your requirements.

3.  Zero Mileage Restrictions

When you take the van on lease, the lease contract will feature a fixed mileage for which you can use the vehicle during the lease period. Go beyond the mileage limit and you’ll be required to pay an additional fee depending on the extra miles. But with ownership, there are no such mileage restrictions.

You have complete freedom to use the van as much as required without worrying about any mileage limitations or extra costs.

4.  No Other Extra Charges

Lease agreements also generally come with a host of other restrictions, which if you’re not fully aware of, could lead to significant expenses. For instance, if you’d like to terminate the lease before the decided lease period, you’ll have to pay a penalty fee.

There are other restrictions related to excessive wear, maintenance, etc., that could make the entire process of leasing more expensive. But you don’t have to worry about these restrictions or penalties if you own the van.

5.  Cost Savings Over Time

While the initial upfront cost of buying a van is higher than leasing, ownership can result in significant cost savings over time. Once the loan is fully repaid, you no longer have to worry about any monthly payments.

On the other hand, if you’re leasing the van, there will be an ongoing monthly payment as long as you use the vehicle.

Cons

1.  Higher Upfront Payment

One of the most significant reasons why many people prefer leasing a van is the higher upfront cost of purchasing. In the UK, you’re required to pay at least 10% of the van cost as a down payment when buying it through a loan. The down payment could be as high as 30% in some cases depending on loan eligibility.

For most people with limited capital, this higher upfront cost is a significant barrier. In comparison, leasing is considerably cheaper.

2.  Maintenance Costs

When you’re the owner, you’re fully responsible for anything and everything that goes wrong with the vehicle. Apart from the routine maintenance costs, there can also be expensive unexpected repairs as the van ages.

Irrespective of whether you’re using the van for commercial or personal use, these repair costs can put a considerable dent in your finances.

3.  Higher Insurance Costs

While you’ll have to pay for insurance irrespective of whether you’re buying or leasing the van, the premiums are generally higher with ownership. The owner is completely responsible for comprehensive coverage and potential liability of the vehicle.

Depending on the usage, make, and model of the van, the insurance premiums could be a significant ongoing cost with van ownership.

4.  Long-Term Commitment

As a van owner, you’ll commit yourself to the same vehicle for several years. In most cases, you’ll be using the vehicle for at least 5-7 years. But what if during this period, the transportation needs of your business start to change? Or what if you’d like to upgrade to a newer van with improved features?

You’ll then have to get into the time and effort-consuming process of selling the existing van and then purchasing a new one. In most cases, buyers are unable to recover the initial investment of the existing van.

5.  Van Depreciation

Another significant downside of buying a van is depreciation. With time, the market price of your van will fall due to depreciation. This will impact the resale value of the vehicle.

It is generally said that vehicles lose at least 15%-30% of their market price in the very first year. From the second year onwards, it continues to lose 10%-15% of its value every year on average.

Leasing a Van

Pros

1.  Lower Initial Deposit and Monthly Payments

If you’re concerned about the high down payment of purchasing a brand-new van, leasing can be a better option. Apart from the down payment itself, even the monthly payments of a lease are considerably lower than monthly loan installments.

The affordability of van leasing makes it a preferred choice for many people who want to acquire a van for personal or commercial use in the UK.

2.  Access to Newer Van Models

As discussed above, van buying requires you to commit yourself to a single model for many years. But with leasing, you can drive newer models with the latest features and technologies without the long-term ownership commitment.

This can be highly beneficial for businesses that abundantly rely on their van fleet for their day-to-day operations and want to maintain a reliable and modern fleet.

3.  Switch or Purchase the Van

Most lease agreements allow you to either return the van or purchase it at the end of the lease. If you’d like to upgrade to a newer model, you can do so once the lease ends. Alternatively, if the van has become a critical part of your daily operations, you also have the option to buy it.

The flexibility to upgrade to a new van or purchase the leased van is another reason that makes leasing an excellent choice, especially for commercial applications.

4.  Lower Repair Costs

When you lease a van, it is generally covered under the manufacturer’s warranty throughout the lease period. In other words, you can avoid significant repair costs if you maintain the vehicle as per the terms and conditions mentioned in the lease agreement.

Moreover, many van leasing companies offer a variety of add-ons like maintenance packages, roadside assistance, and more to offer enhanced convenience.

5.  Tax Benefits

Leasing a van in the UK for commercial use can also offer a variety of tax benefits. For instance, businesses generally claim back a certain portion of VAT applicable on lease payments and deduct these payments as a business expense.

The tax benefits can offer considerable savings and enable companies to improve their bottom line.

Cons

1.  You Don’t Own the Vehicle

The biggest drawback of van leasing is the lack of ownership. Unlike loan installments where each installment increases your equity in the van, monthly lease payments only contribute to van usage. Once the lease ends, you have to return the vehicle or enter into a new lease.

On the other hand, if you purchase the van through a loan, you become the owner once you fully repay the loan amount.

2.  Mileage Restrictions

Another significant disadvantage of van leasing in the UK is the mileage restriction. If you exceed the mileage limit mentioned in the lease agreement, you’ll have to pay a penalty. And it is not always easy to know how many miles your van will be driven in a year when signing the lease agreement.

When you purchase the van, there are no such restrictions and you’re free to drive the van for as many miles as you want.

3.  Wear and Tear Penalty

While lease agreements generally allow for normal wear and tear, you can be penalized for any damage that is beyond normal. If you don’t maintain the van as per the provisions of the lease agreement, the penalty can be steep in certain cases.

Thus, if you go ahead with a van lease, ensure that you also purchase the add-on maintenance package or insurance offered by the lease provider.

4.  Long-Term Cost

While the monthly lease payments are lower than loan installments, they’ll still amount to a significant sum in the long run. In many cases, the lease amount you pay over the years could be higher than the cost of purchasing the same vehicle.

So, if you’ll be using the van for several years and don’t mind the long-term commitment to a vehicle, buying can be a more cost-effective option.

5.  Limited Customization Options

Leasing agreements generally have restrictions on van customization. While they might allow you to make minor changes to the vehicle, significant customizations are generally not allowed. In a way, this restricts your ability to personalize the vehicle as per your requirements.

Needless to say, if you purchase the van, you have complete freedom to customize the van the way you want.

Should You Buy or Lease a Van?

As you can see there are several pros and cons of buying vs. leasing a van in the UK. The selection between the two should ultimately depend on your specific needs and finances.

While ownership comes with equity build-up, customization freedom, and unlimited mileage, the higher initial cost can be a major deterrent. On the other hand, leasing offers benefits like lower upfront and monthly costs and access to newer models but it also comes with mileage restrictions, customization limitations, and no ownership.

Thoroughly analyze these pros and cons to make the right decision. If you’re unable to make a decision, let the experts at Swiss Vans help you out. As one of the leading van sellers and leasing specialists in the UK, you can rely on our expertise to decide whether you should buy or lease a van. Contact us today to know more.

Most people looking for a van in the UK, either for commercial or personal use,

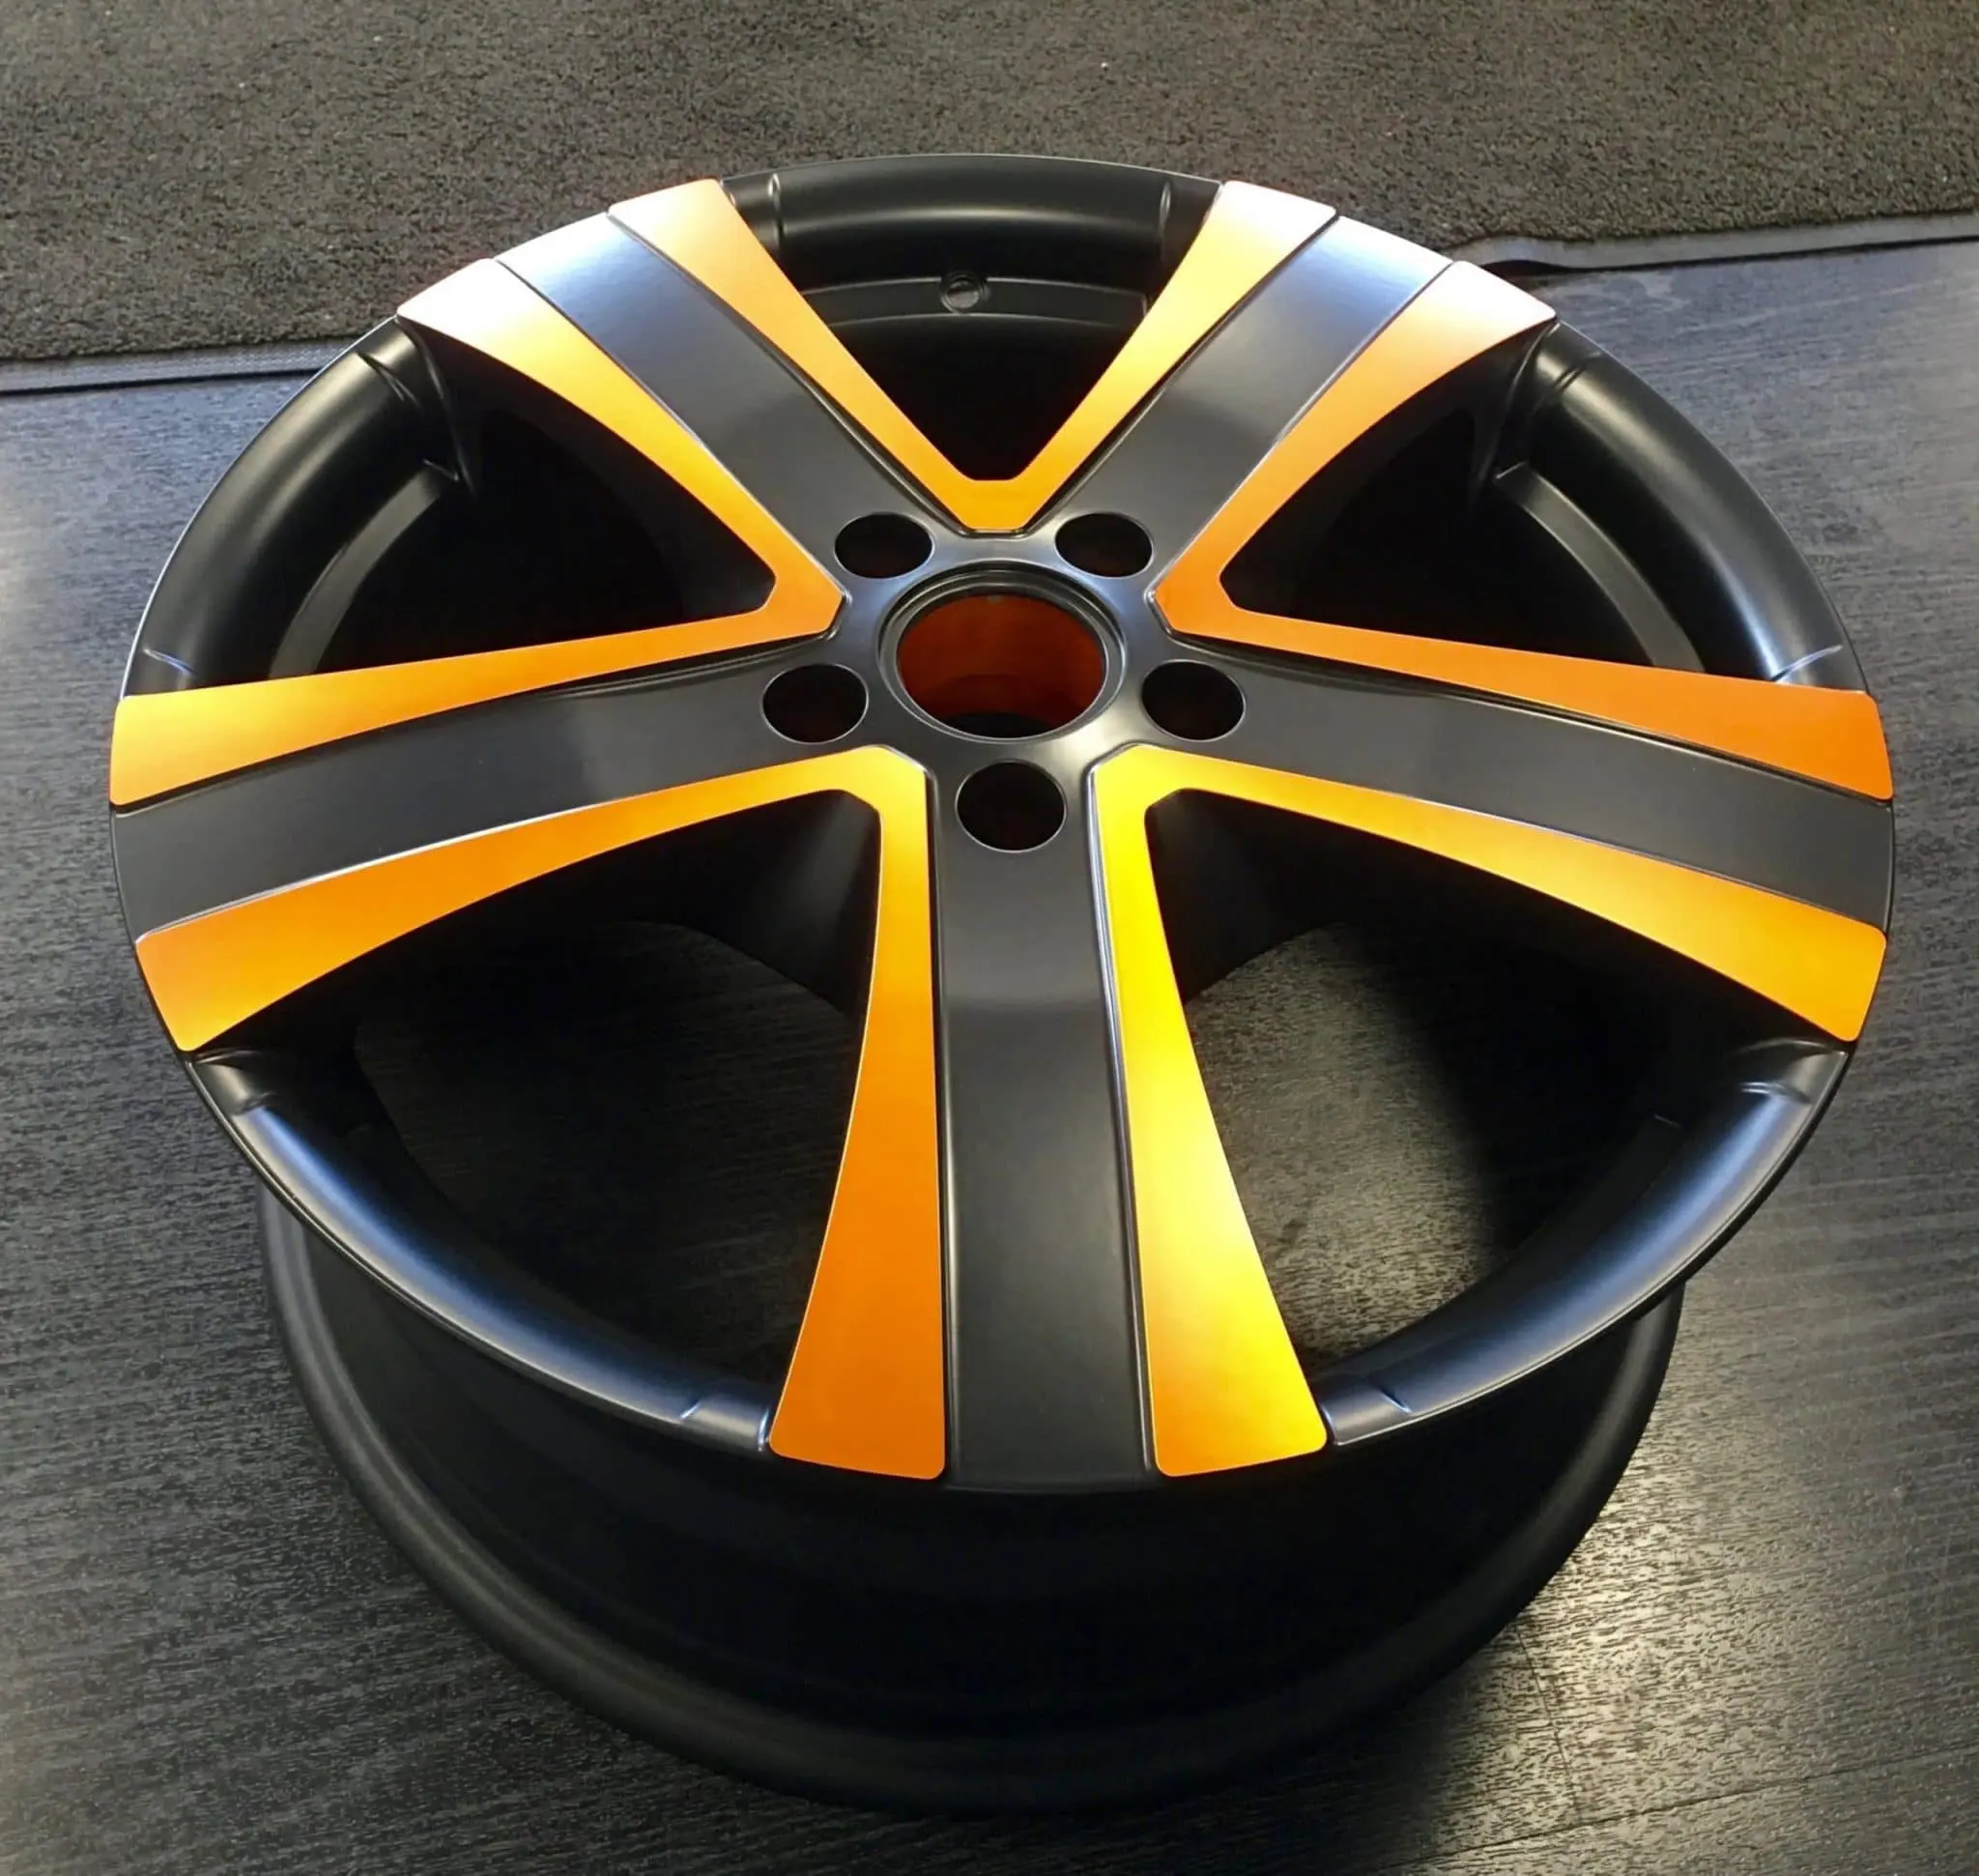
At long last Full Hornet Pack 

  • Full Hornet pack 
    Front splitter 
    Side skirts 
    Rear diffuser
    New Grille 
    Swiss Badges 
    Lowered suspension 
    Blue Pilot seat leather 


At long last Full Hornet Pack  Full Hornet pack  Front splitter 

Searching for a new van to boost your business operations or upgrade personal transportation? A used van can be worth considering. With significant cost savings, slower depreciation, cheaper insurance, and a plethora of options, a used van can offer a host of benefits while still fulfilling your transportation needs.

At Swiss Vans, we offer a wide range of used vans from top manufacturers, including Volkswagen, Ford, Land Rover, Mercedes, Iveco, Citroen, Renault, Nissan, and more. At the same time, we also want our customers to make the most of their investments by purchasing a well-maintained used van that aligns with their specific needs and preferences.

Just like there are several aspects you must look into when purchasing a new van, there are many factors you should take into consideration when selecting a used van. In this post, we’ll take a detailed look at 12 things you should look out for before buying a used van from Swiss Vans-

10 Things to Look for Before Buying a Used Van

1.  Van Exteriors

The external appearance of a used van is generally the first aspect that grabs our attention. So, begin your inspection by examining the vehicle’s exteriors. Watch out for signs of wear, tear, rust, and visible damage to gain valuable insights into the history and upkeep of the van.

A used van with a well-maintained exterior signals that the previous owner was conscientious and took good care of the vehicle. Here are some tips to effectively examine the van’s exteriors-

  • When looking for signs of wear and tear, focus on areas that are more prone to damage, like bumper, doors, fenders, roof, and side mirrors.
  • Check areas like wheel walls and undercarriage for signs of rust.
  • Watch out for visible damages, scratches, and dents that could impact the looks and structural integrity of the van.
  • Look out for signs of neglect, such as peeling clear coat or faded paint, as these can indicate improper care and maintenance.

2.  Mileage

While the used van’s mileage does not solely determine its reliability, it sure is an important factor when assessing the overall condition of the vehicle. You can find several well-maintained used vans with high mileage but that doesn’t necessarily be a red flag.

What’s more important is how the van’s age aligns with the mileage. For instance, if an older van has considerably lower mileage, it could imply long periods of inactivity which could make the vehicle more prone to certain mechanical issues in the future. So, apart from the total mileage, consider the mileage consistency as well. Here are some tips that should help-

  • Review maintenance records or inspection stickers to check for mileage readings.
  • Evaluate how the mileage aligns with the vehicle’s age.
  • As a rough guide, vans travel between 12,000 to 14,000 miles on average per year. Multiply this figure by the van’s age to check if the vehicle has a consistent and steady mileage pattern.
  • If the van has irregular mileage patterns, it can indicate irregular use which could potentially impact the overall van condition.

3.  Van’s Service History

Regular servicing is the single most effective method to enhance the working life of any vehicle. A well-serviced and maintained vehicle can continue to remain functional and operate at peak performance even after many years of regular use. So, when inspecting a used van, its service history deserves your complete attention.

If the van has a comprehensive service history with maintenance records at regular intervals, it can be considered a positive sign. Look for entries of brake inspections, oil changes, and other routine services that indicate a diligent maintenance approach. Here are a few important things you should watch out for-

  • Consistent mileage between services.
  • Regular oil changes, typically after every 5,000 to 7,000 miles.
  • Frequency of brake inspections, preferably after every 10,000 to 12,000 miles.
  • Examine service records for any significant component replacements or repairs.
  • Cross-verify all the details with the van’s VIN records.

4.  Tire Condition

A commonly overlooked aspect of used van inspection is the tires. The tires are abundantly responsible for the overall safety and performance of the vehicle and thus demand a thorough examination.

It can provide insights into the van’s maintenance and potential suspension or alignment issues. Here are some tips to examine the tires of a used van-

  • Use a tread depth gauge to measure the tread depth of the tires as adequate tread depth is vital for optimal traction.
  • Visually check the alignment by ensuring that the tires are parallel on each axle.
  • Inspect the tires for signs of uneven wear across the tread surface. Uneven tire wear is often a sign of suspension-related problems.
  • Ensure the spare tire is also in good condition and properly inflated.

5.  Mechanical Inspection

Purchasing a used van without a thorough mechanical inspection is not a wise decision. Work with a professional mechanic to examine all the critical components of the vehicle. Only a qualified mechanic would be able to identify potential issues related to the internal components of the vehicle.

Some of the eras that deserve utmost attention are-

  • Engine
  • Brake system
  • Suspension
  • Transmission
  • Steering system
  • Exhaust system
  • Electrical system
  • Fluid levels and quality
  • Battery condition

6.  Interior Features

The interiors of the used van are just as important as this is where you and your passengers will be spending a significant amount of time. Thoroughly assess the interior features and comfort elements to ensure a pleasant and functional driving experience.

Moreover, many modern vans are now equipped with advanced features. Your examination of the interiors will also help you ascertain whether or not everything is working as expected. Follow these tips when inspecting the van’s interiors-

  • Examine the seat condition, including any stains, tears, or signs of excessive wear.
  • Check the air conditioning and heating system.
  • Test all the electronic features, including power windows, mirrors, and locks.
  • Check the infotainment system, including the touchscreen (if available), connectivity features, and audio controls
  • Inspect the storage compartments, including the center consoles, glove boxes, and door pockets.

7.  Leaks and Smells

When inspecting the used van, pay attention to any kind of leaks or smells as they often indicate underlying conditions that could impact the performance and safety of the vehicle. Moreover, they could also lead to expensive repairs in the future.

While a qualified mechanic would be better able to assess such conditions, here are some leaks and odors you should watch out for-

  • Leaks in the engine compartment and area around the transmission
  • Coolant and power steering leaks
  • Check for leaks around the axle seals and the differential
  • Engine and exhaust odors
  • Gasoline odor or burning smell from the interior components

8.  VIN Check

The Vehicle Identification Number or VIN is a unique identifier for every vehicle. If you’re about to buy a used van, a thorough VIN check is an important part of the assessment process. There are service providers that allow you to check the vehicle’s history through its VIN.

When examining the used van’s history, watch out for these details-

  • Accident history
  • Title status
  • Odometer discrepancies
  • Financial encumbrances and liens
  • Heavy damage in accidents
  • Theft and recovery information
  • Service and maintenance records

9.  Modifications

Many van owners opt for modifications either to enhance the aesthetics or to make the vehicle more functional. If the van you’re interested in is equipped with such modifications, its current state deserves your attention as the upgrade could impact the performance, safety, and value of the vehicle.

Some common van upgrades owners opt for are as follows-

  • Engine and exhaust system upgrades
  • Lift-kit installation for off-road capabilities
  • Aftermarket wheels
  • Electrical and lightning alterations
  • Interior or exterior modifications

10.  Test Drive

Last but not the least is the test drive. It offers a first-hand experience of the performance of the used van, allowing buyers to assess its responsiveness, handling, and overall dynamics. Moreover, it is an effective way to identify potential issues that are not evident in a visual inspection.

During the test drive of the used van, watch out for-

  • Engine performance, including acceleration and smoothness
  • Transmission behavior and steering response
  • Brake response and feel
  • Cabin noise and vibrations
  • Electrical components
  • Fluid leaks
  • Warning lights
  • Performance on a variety of roads
  • Turning radius
  • Driver comfort

Ready to Purchase a Used Van?

Swiss Vans takes utmost care to only offer high-quality and well-maintained used vans to our customers. We have one of the widest ranges of pickups, small vans, electric vans, minibuses, lutons, crew vans, large vans, and more, across price points to ensure every potential customer can find something that matches their requirements and budget.

Check out our Used Vans Stocklist or get in touch with us to discuss what you’re looking for. We can leverage our vast network spread across Europe to find a used van that can fulfill your requirements and expectations.

Searching for a new van to boost your business operations or upgrade personal transportation? A

Over 200 New vans In Stock Today - Best Prices in Years

Over 200 Volkswagen Vans In Stock Kombi Sportline Panel Vans Amarok Stock selling fast

Stock is selling fast 
especially 150 Highline Kombi DSG.

Over 200 New VW Vans in stock here 
Low rate finance. One of the most popular models e.g
VW Transporter Kombi SWB White 150 6 speed manual no extras 

£3,000 + VAT

47 X £464 + VAT

£18,047.15 + VAT

10,000 MPA

VW Transporter Panel van 110 manual 

£3,000 + VAT

47 X £373 + VAT

£16,324.80 + VAT

10,000 MPA

Over 200 New VW Vans in stock here Low rate finance. One of the most

Since its launch in 2015, the Ford Transit Custom has had numerous enhancements and modifications. The battery that these vehicles run on, however, hasn’t changed throughout the years. Wondering where is the battery on a Ford Transit Custom? Continue reading to learn everything you need to know about the Ford Transit Custom’s battery.

Like other batteries, the battery in an automobile stores chemical energy that is electrically charged. Car batteries are made of lead-acid technology and have a long lifespan; however, they are not like phone batteries in that they are often charged and depleted. Therefore, your battery won’t be in the best shape if you let it drain by leaving the lights on or if something else is causing the drain.

What is so special about the Ford Transit Custom battery?

Group 48 batteries (H6) are used by all Ford Transit vehicles, and some even utilize two! Unlike other cars, these batteries are not located inside the engine. Rather, they are positioned beneath the driver’s seat, which shields them from the heat produced by the engine and lengthens their lifespan and efficiency.

For your van, a Transit Custom Battery may accomplish a lot. It contributes to the smooth operation of the engine and offers additional power when needed. Additionally, knowing that your van is always prepared to go in any circumstance provides you peace of mind.

  • Enhanced engine performance

You can increase the smoothness and efficiency of your engine by using a Transit Custom Battery. Emissions can be decreased and fuel efficiency increased as a result.

  • Extra power when you need it

A Transit Custom Battery can provide you with the boost you require if you frequently find yourself in circumstances when you need a little extra power. When hauling a trailer or climbing hills, this can be helpful.

  • Peace of mind

In the event of an emergency, knowing that your Transit Custom is always prepared to go will ease your mind. You’ll be happy you have a Transit Custom Battery on board in case you ever get stranded.

  • Higher resale value

Transit Customs with and without a Transit Custom Battery often keep their worth better. If you ever want to sell your van, this can be a big selling feature.

  • Broader warranty coverage

A lot of Transit Custom battery producers provide longer guarantees for their goods. This might provide you with additional security if issues arise later.

Where is the battery on a Ford Transit Custom located?

The Ford Transit battery is situated beneath the driver’s seat. If your battery dies, you can jump it using the battery connectors located in the engine compartment on the driver’s side. To remove the battery, you need to first move the driver’s seat back. Next, remove the rail stop bolts and plastic screw covers.

The bolts require a T40 TorxBit, and the seat may now be shifted to the front. To remove the battery cover, use an A5/16″ socket wrench. Now you may undo the nuts on the battery terminals. Simply pull out the battery and hoist it out using the handles.

If you are not sure you can do this yourself, please leave the task to a professional. They are trained to handle such tasks and will make sure the job is done flawlessly.

What type of vehicle battery does a FORD TRANSIT CUSTOM use?

You’ll need a 12V lead acid car battery for your FORD TRANSIT CUSTOM. Century, Panasonic, and Varta manufacture batteries for your Ford Transit Custom, and we also offer more brands. Some contemporary automobiles may include Idle Start-Stop. Dry Absorbed Glass Mat (AGM) batteries are commonly used in European cars with Idle-Start-Stop. Most Asian vehicles equipped with stop-start technology use a wet-enhanced flooded battery (EFB).

How to check if your Ford Transit Custom Battery is working properly?

Now that you know where is the battery on a Ford Transit Custom located, you can also check if there is any issue with your battery. Your battery may not be functioning properly if your Transit Custom is experiencing problems starting. Here are some indicators that the battery in your Transit Custom needs to be changed:

  1. Inspect for corrosion at the battery terminals. If they are corroded, the electrical current may not flow through them correctly, which could make it difficult for your Transit Custom to start.
  2. Use a voltmeter to check the battery voltage. Should it be less than 12 volts, it might require replacement.
  3. To identify the problem, have a certified auto mechanic or your nearby Ford dealer test the battery and charging system.

If it turns out that the battery in your Transit Custom needs to be changed, make sure to pick an original Ford part. Always choose a trusted source of genuine batteries for your vehicle.

Maintenance tips for Ford Transit Custom

Keep it clean

A dirty battery will drain more quickly. Make sure to keep the battery’s top clean and clear of any dirt or debris to avoid this from happening.

Verify the Water Level

Lead-acid batteries require routine checks of their water levels. Add distilled water until it reaches the fill line if it’s low.

Prevent Short Circuits

A short circuit has the potential to harm a battery. Make sure there are no loose wires and that the cables are connected correctly to avoid this from happening.

Charge It Frequently

A lead-acid battery requires frequent charging. You can accomplish this by either running the car for a while or connecting the battery to a charger.

Store It Correctly

A lead-acid battery needs to be kept in a dry, cool place when not in use. Its life will be extended in this way.

What to do if the battery is not working properly?

If you discover that your Transit Custom battery is not performing properly, there are a few steps you can take to diagnose the problem. First, inspect the battery terminals to ensure they are clean and corrosion-free. If the terminals have corroded, clean them with a wire brush or battery terminal cleaner. If the battery terminals are clean, inspect the battery cables to ensure they are not lost or damaged. Tighten or replace cables as needed. Finally, inspect the battery to determine if it is broken or leaking. If the battery is destroyed, you will have to replace it.


If your Transit Custom battery still does not work after following the steps outlined above, there could be some issues with the charging setup. You can check if this is the case by using a voltmeter if you have one. You need to first remove the negative battery cable. Then using a voltmeter, you can connect to the positive terminals of both the battery and the charging system. You need to then start the engine and let it remain idle for a few minutes. At this point, the voltmeter should read 13.5-14.5 volts. If it does not, there is a problem with the charging system, which will have to be repaired or replaced.

Ford Transit Battery Replacement

As vans age, the components are usually missing because the owners can’t be bothered to repair some of the original parts. This is common for many difficult-to-fit parts. Another key step is to determine whether the old battery is the correct one. People will sometimes choose the lowest choice, even if it means purchasing the incorrect batteries. Although the improper battery may start the vehicle, it may have an impact on the battery’s longevity. This is especially critical if you’re using the Ford Transit model as the foundation of a motorhome or a camper.

In summary

Based on your car model and make, a car’s battery can be installed in a variety of locations. Typically, the Ford Transit battery replacement, 250 battery is found beneath the driver’s seat. To access it, pull the seat forward, and remove several bolts from behind it. To access the battery, simply slide the cover out of that position.

The primary function of a car battery is to supply the surge of energy required to power the engine. When you turn the key in the ignition, it powers the starting motor, which turns the engine until it starts. Battery-powered lights and electrical systems: Car batteries power the vehicle’s electrical systems, which include lights, indicators, dashboard instrumentation, entertainment systems, and more. Hence, make sure that your vehicle’s batteries are in optimum condition and replace them if they aren’t working at their full potential.

Since its launch in 2015, the Ford Transit Custom has had numerous enhancements and modifications.

The Ford Transit Custom has always been one of the best-selling cars in the world. However, following the pandemic, its sales have skyrocketed. Since its launch, the mid-sized Transit has been a huge success, propelling the Custom to superstar status. The newest model has undergone substantial changes, not the least of which is the Ford Transit Custom’s electrification. Want to know which transit custom engine is best? Read further to know more.
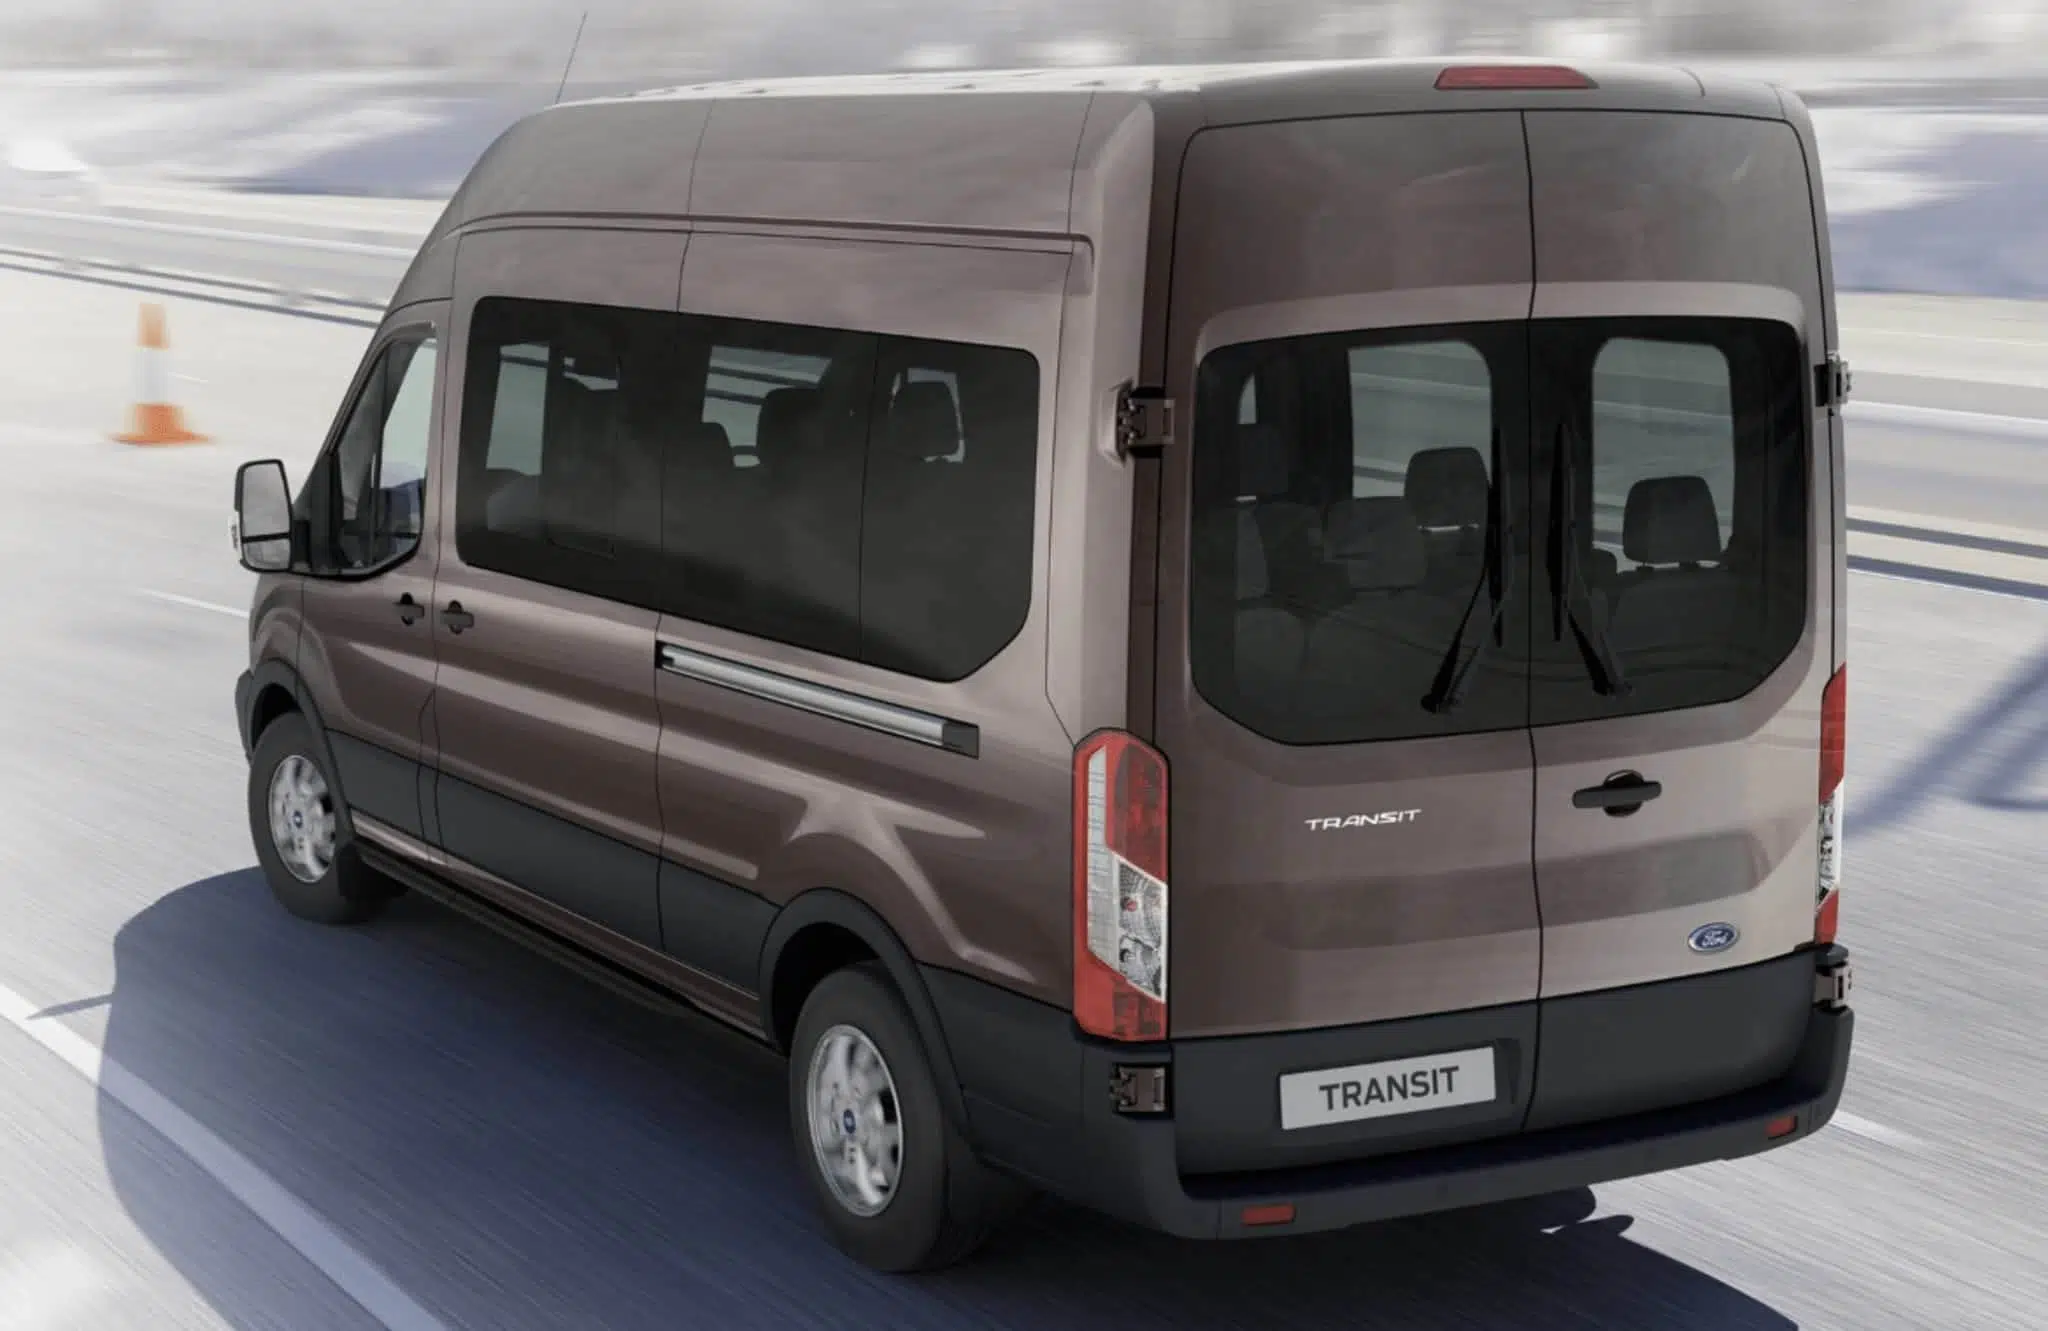
How many different variants of the Ford Transit Custom exist?

The answer to this question will range from a few hundred to several million. If each unique item is counted as a distinct variant, there are about two million combinations; however, a more basic body, engine, gearbox, and trim type computation yields approximately 550.

What about the engines?

The latest vehicle make is powered by a 2-litre EcoBlue engine. It promises fuel savings of up to 6 percent over the previous model. The latest engine offers outputs of 170PS, 150PS, 136PS and 110PS.

A six-speed manual transmission is standard, although a new 8-speed automatic from Ford is available on all versions. Ford has revealed that it would install a new 183bhp diesel engine in its Transit Custom Sport van, making it the most powerful Transit ever.

The 183bhp variant of Ford’s 2.0-litre EcoBlue diesel engine, badged 185, leads the current Transit Sport series lineup. The engine boasts a nine percent boost in power output and offers a massive 415Nm of torque, with the powerful Sport model distinguished by the now-iconic twin sports stripes.

Ford equips the Transit Custom with a more aggressive body kit, brash sports stripes, a choice of 17- or 18-inch alloy wheels, and an interior with partial leather. Customers have the option of purchasing both long- and short-wheelbase models, as well as more traditional van versions with rear windows and more seating. The variant also includes a Wi-Fi hotspot that can accommodate ten devices and a touchscreen with Ford Pass Connect communication features.

Ford Transit custom engine


If you are eager to learn which transit custom engine is best, then here is the answer. To comply with Euro 6 pollution regulations, the original 2.2-liter turbodiesel engines from the Euro 5 specification were swapped out with new 2.0-liter EcoBlue engines in 2017.
Along with several other technological advancements, the 2.0-liter engines were introduced, and for the first time, a six-speed automatic transmission was offered as an option.

The 2.0-liter EcoBlue engines saw additional updates in 2019 that included new injectors, pistons, turbochargers, and an on-demand oil pump. According to the changes, real-world fuel efficiency will increase by 7%. Simultaneously, the top-of-the-range engine was upgraded to 185 horsepower. More information about all of this can be found in this section on driving.

Euro 5 engines for Ford Transit

Three different 2.2-liter TDCi turbodiesel engines were available at launch for this generation of Ford Transit, providing the following power outputs:

  • 310Nm/100hp
  • 125 horsepower at 350 nm
  • 155 horsepower at 385 nm

All the variants were evaluated with a 500 kg payload while they were in front and rear wheel drive configurations at launch in 2014. On steep inclines, the 125-horsepower version started struggling but the 155-horsepower version felt incredibly powerful.

Ford Transit Euro 6 Engines

To comply with Euro 6 emissions requirements, Ford introduced a new range of 2.0-liter EcoBlue turbodiesel engines in the summer of 2016 to the Transit lineup. However, these engines didn’t start to be offered in large quantities to UK dealers until 2017.

The following are the Transit 2.0-liter engines’ power outputs:

  • 105 horsepower at 360 nm
  • 130 horsepower at 385 nm
  • 170 horsepower at 405 nm.

As part of the 2019 redesign, a new model with 185 horsepower and 415 Nm was added to the lineup. With 20% more low-end torque early in the rpm range, all of the Euro 6 engines are incredibly strong for their smaller size—an advantage you can feel on the road.


Even the least powerful version, with 105 horsepower, operates well under a variety of testing settings. It was tested with a 600 kg test weight in the back, for example. Every output has been put to the test under diverse conditions. These engines are also quieter than the engines they replace, which enhances the enjoyment of every drive.

Ford Transit 2019 facelift engines

Except for a new 185 horsepower power output at the top of the range, not much appears to have changed for the post-facelift engine lineup on the surface; the other three engine options continue to deliver the same horsepower and torque ratings.

In actuality, though, every one of the new engines gets a higher-pressure fuel injection system, an on-demand oil pump, a redesigned turbocharger, and new piston designs. They are therefore claimed to be more receptive and productive. When driven alone, there isn’t much of a change; however, we did notice that the new engines are noisier than the old ones, with the rear-wheel drive versions being especially noisy inside.

It is not clear if this is due to the engine enhancements or modifications made to some of the materials as part of the facelift’s weight-saving initiative to increase its payload. However, the van is undoubtedly not any quieter now that it has the higher-pressure injectors a new aluminum bonnet, and composite bulkheads. Refinement is therefore one area where the most recent German competitors, the VW Crafter and MAN TGE in particular, clearly outperform the Transit.

To be honest, though, the 2019 Renault Master and Vauxhall Movano updates will also offer the Ford serious competition in this regard. Nevertheless, after a performance test with a half-payload, the Transit’s engines still felt more than capable of moving a lot of cargo with ease.

Transit EcoBlue Hybrid Engine

The Transit EcoBlue Hybrid is referred to as mHEV [Mild Hybrid Electric Vehicle].  It is packed with a 2.0-liter diesel engine that produces 130 horsepower. The mHEV package, which can be installed on any EcoBlue engine, uses new 48-volt electric technology, but in the UK, it will only initially be available with 130 horsepower to gauge demand.

This is not a Transit that can run on electricity for an extended time; for that, you will either need to downsize to the Transit Custom PHEV or wait for the all-electric Transit, which is scheduled to arrive in 2021. Don’t let the word “hybrid” mislead you. To conserve gasoline, the mHEV instead makes use of a starter generator and a tiny lithium-ion battery pack hidden under the passenger seat.

It accomplishes this by employing the extra battery pack to lessen the stress on the engine and by functioning as an enhanced stop-start system, stopping the engine sooner and resuming it faster. Reusing the energy collected during braking to recharge the battery, power electrical components, and even improve engine response at low speeds. According to theory, it will increase fuel efficiency by 3% while driving normally and by up to 8% when traveling through town in stop-start traffic. However, Ford estimates that it will take 80,000 miles before the fuel savings (£700 at launch in 2019) cover the initial outlay, so the numbers aren’t particularly impressive. Additionally, the weight of the mHEV package deducts that amount from your possible maximum payload, further complicating matters.

Not much differences were noted between driving Transits with and without the tech present, except for the way the engine cuts off at low speeds as soon as you depress the clutch.
The fact that the daily driving of the EcoBlue Hybrid is identical to that of any other Transit is fantastic news. However, paying for it now won’t immediately make you feel good because there’s not even an indicator to indicate when more energy is being recovered or the extra battery is being utilized.

What does the electric Ford E-Transit look like?

The Ford E-Transit establishes the benchmark to which other large electric vehicles should strive. It is not only less expensive than competitors, but it is also better made, has a longer range, is more powerful, and has an excellent payload. In short, it is the best alternative available at the moment.


It has a claimed maximum range of 196 miles, and Ford believes that even in the worst-case scenario, you should be able to go 100 miles when carrying things and not being too soft with the throttle. The driving experience is typical of an electric van, which is more than can be said for many competitors, as it is quiet and smooth on the road. There is little wind or road noise, and it is a calm experience.Regardless of which power option you choose, you’ll have access to all 430Nm of torque right away, allowing for quick acceleration from a stop.

In summary

The 2L EcoBlue TDCi engine is a recent addition to the Ford Transit portfolio. It has quickly gained a reputation for its efficiency and dependability.  It has a low emission rating and is intended to be low-maintenance. Ford created the 2.0L EcoBlue TDCi diesel engine specifically for their Transit vehicles. It is recognized for its dependability, efficiency, and performance. Although there are multiple engine variants available in Ford models, the recent engine upgrades are remarkable.

The Ford Transit Custom has always been one of the best-selling cars in the world.

Understanding the differentiation between business and commuting miles is crucial for self-employed individuals or those who must adhere to specific guidelines outlined by the IRS. In this article, we will explore the intricacies of business miles vs commuting miles, shedding light on their distinctions and how these differences can impact financial and tax decisions.

Defining Business Miles and Commuting Miles

Before delving into the complexities, it’s important to establish what constitutes business and commuting miles.

Business Miles: These are the mileage accumulated while actively engaged in activities contributing to your business operations. For example, if you’re a sales representative traveling to meet potential clients, any distance covered during that journey falls under the category of business miles. Likewise, if you’re a freelance designer driving to a client’s office to discuss a project, any mileage logged for that trip is considered business-related. The pivotal element to consider revolves around the fact that travel is essential to your professional duties.

Commuting Miles: When calculating mileage, it’s important to note that commuting miles refer to the distance you cover during your daily journey from home to your primary workplace. These are the everyday travels required to reach your office, store, or any location where you regularly perform your job. Commuting miles are classified as “getting to work” miles. They cannot be claimed as tax-deductible by the IRS since commuting is a personal choice rather than a direct responsibility related to your work.

Understanding this distinction between business miles vs commuting miles holds utmost significance as it is a foundation for determining which type of mileage can provide tax advantages and which are considered personal expenses. How these miles are categorized can impact your tax deductions and financial choices. As we explore the topic of commuting miles vs business miles on a more profound level, it’s important to remember that this fundamental distinction serves as the foundation for several guidelines established by the IRS and can have significant implications for various aspects of your career.

Self-Employed Individuals: Navigating the Distinctions

Determining the distinction between business miles vs commuting miles IRS can become hazy for self-employed individuals. Due to their ability to work from home or have unpredictable schedules, identifying whether a trip falls under a business or commuting mile requires careful consideration and effort. This is where having a clear comprehension of the guidelines provided by the IRS becomes crucial.

Flexibility and Complexity: The self-employed often enjoy a level of flexibility that traditional employees do not possess, which introduces an element of complexity when discerning business miles and commuting miles. Many individuals who work for themselves conduct a significant portion of their tasks remotely, either in their home office or while traveling to meet various clients. This freedom poses challenges when it comes to drawing clear boundaries between types of travel.

For example, suppose you are a freelance writer primarily operating out of your home office but occasionally meeting with clients for brainstorming sessions. In such cases, categorizing your mileage can be quite intricate. Is traveling to the client’s meeting location considered a business mile? Or does it fall into the commuting category, as your home is your primary workplace?

Documenting Work-Related Travel:

Accurate record-keeping is crucial for self-employed individuals, particularly when categorizing miles. It’s essential to have meticulous documentation in place. Keeping thorough records of each trip’s purpose, destination, and how it relates to your business activities can make a difference. Utilizing mileage-tracking apps or software is highly recommended if you’re working for yourself, as they can simplify this process.

These tools often provide the option to classify each journey as business-related or personal and offer an organized method of storing travel-related information. Not only does such documentation help with tax deductions, but it also serves as considerable evidence if you were ever subjected to an IRS audit.

Differentiating between business miles vs commuting miles self-employed requires careful consideration of your work structure and travel patterns. Although self-employment comes with flexibility and advantages, it necessitates more diligence in accurately tracking and categorizing your travel. The initial step is to acknowledge the complexities that may blur the boundaries between these miles. The subsequent step involves using available resources and tools to ensure compliance with IRS guidelines and maximize potential tax benefits.

IRS Guidelines and Their Significance

The IRS has established specific criteria to distinguish between business miles vs commuting miles IRS. According to its definition, business miles encompass any travels undertaken within the scope of work activities such as meeting clients, attending business-related gatherings or appointments, or engaging in job-related errands. Alternatively, commuting miles refers to the journey from your dwelling to your main occupation.

It’s crucial to bear in mind that commuting miles are generally non-tax-deductible. Nonetheless, there are circumstances wherein commuting miles can morph into deductible expenses. For instance, the travel could be considered business miles if you possess a home office and commute to a client’s site rather than your primary workplace. It is always wise to seek advice from IRS guidelines or a tax expert for precise classification purposes.

Understanding Home Office Deductions:

A home office can change the nature of your commuting miles, potentially making them eligible for tax deductions. For self-employed individuals who use part of their home exclusively and regularly for business purposes, any travel they undertake from their home to meet clients or suppliers or engage in activities related to their business may be considered deductible. This is because, under these circumstances, the individual’s residence is deemed their primary place of business. Any travel from there to other locations associated with work becomes an extension of their professional responsibilities.

To avoid confusion regarding what classifies as business or commuting miles and ensure eligibility for tax deductions, it is essential to refer to the guidelines provided by the Internal Revenue Service (IRS). Due to the intricate nature of tax regulations involved, specifically with self-employment, individuals seeking professional advice are highly recommended. Consulting an expert will help ensure accurate interpretation and application of these guidelines based on individual circumstances.

Tax Implications: Business miles vs commuting Miles

It is vital to comprehend the tax ramifications of business miles compared to commuting, as it can influence your financial outcome. Business miles are typically eligible for tax deductions, allowing you to deduct a set amount for each mile traveled on business-related endeavors. Utilizing this deduction can lower your taxable income and alleviate your tax burden.

On the contrary, commuting miles are not eligible for tax deductions. This is because commuting is viewed as a personal expense since it pertains to the distance covered to reach your regular workplace. Nevertheless, if you are self-employed and conduct business activities or meet clients from your home office – which qualifies as your primary place of business – there may be potential deductibility associated with traveling from home.

Record-Keeping and Documentation

Proper record-keeping practices are of utmost importance in distinguishing between business miles vs commuting miles. The Internal Revenue Service (IRS) mandates the need for accurate documentation to substantiate your mileage claims. To track business miles, it is essential to maintain a log specifying the date, the reason for the trip, starting and ending points, and the total distance covered. This comprehensive record will serve as substantial proof if an audit occurs.

Typically, commuting miles are not considered deductible by the IRS. Nevertheless, certain circumstances can alter this position – if your commute forms part of a business trip or you have a qualifying home office setup – transforming the nature of your travel altogether. In these cases, meticulously keeping detailed records outlining the business purpose behind each commuter journey becomes crucial.

Technology and Tracking Mileage

In the modern era of technology, multiple tools and applications are available that can simplify the process of monitoring business and commuting mileage. These applications use GPS technology to accurately calculate the distance covered during your journeys, thereby facilitating the maintenance of precise records for tax purposes. Moreover, they can differentiate between personal trips and those conducted for professional reasons.

Efficiency and Accuracy:

Mileage tracking apps offer a degree of efficiency and accuracy that conventional manual techniques must match. By utilizing these apps, you can input the purpose of each trip, allowing the embedded GPS technology to handle everything else. The application meticulously keeps track of various elements, including distance traveled, route taken, date, and time. This comprehensive collection serves as an essential dataset for calculating tax deductions, concurrently acting as a valuable resource to assess travel patterns effectively while enabling informed decision-making regarding optimizing routes and minimizing travel duration.

In addition, these applications frequently offer features that enable you to classify each journey as either professional or personal. This feature allows for a clear distinction between the two types of mileage. Some applications go even further by allowing the export or printing of comprehensive reports. These reports can be incredibly handy during tax season or when dealing with an audit. By utilizing the capabilities of technology, you can streamline your mileage-tracking process and minimize the risk of inaccuracies. Additionally, this approach guarantees that well-organized records are easily accessible whenever necessary.

Seeking Professional Advice

When it comes to deciphering the complexities of business miles versus commuting miles, navigating this territory can be quite intricate. This is especially true when considering the various scenarios that may apply to your circumstances. However, fear is not! If you need assistance with categorizing your travel or want to optimize your tax deductions, enlist the guidance of a tax professional specializing in self-employment and small business taxes. By doing so, you will access tailored advice specifically geared toward your unique situation.

Expert Insights and Customized Solutions:

Tax professionals specializing in self-employment and small business taxes are undoubtedly well-acquainted with the intricacies of tax regulations regarding different forms of work-related travel. They possess a treasury of knowledge that enables them to provide priceless insights into accurately classifying your mileage expenses, discerning, and understanding IRS guidelines with precision, and identifying any potential deductions that might escape your attention while navigating through this complex terrain. These professionals boast an in-depth familiarity with tax laws and diligently monitor any modifications or amendments made thereof, which could significantly impact how you approach filing taxes on these matters.

When you seek professional advice, you invest in peace of mind. Tax laws’ complexity means that incorrectly interpreting them can result in costly consequences. By working with a tax professional, you equip yourself with the necessary knowledge and guidance to navigate the intricacies of commuting miles vs business miles. This enables you to focus more on expanding your self-employed venture and less on potential tax-related pitfalls.

In Conclusion

Being well-versed in the distinction between commuting miles vs business miles is vital for self-employed individuals looking to optimize their tax deductions. The guidelines put forth by the IRS play a crucial role in determining how these miles should be categorized and whether they are eligible for tax deductions. Keeping precise records, utilizing technology for tracking purposes, and seeking professional advice are all essential steps toward maximizing travel-related deductions. Regarding taxes and money matters, every single mile holds significance

Understanding the differentiation between business and commuting miles is crucial for self-employed individuals or those

The Mercedes Vito is a perfect rental van for those looking to travel as a group. Whether you plan to travel with your family, work colleagues, or business associates, the Mercedes Vito is among the best-performing rental vans. The Mercedes Vito dimensions ensure adequate internal space for passengers and cargo. Read on to understand these dimensions and decide if this mid-sized van can fit your group’s needs.

Mercedes Vito Dimensions – The Capacity and Size

The latest Mercedes Benz Vito has one roof height, two wheelbases, and three body lengths. Therefore, you have three rental options: L1, L2, and L3. When checking their dimensions, consider the following:

1.  Exterior dimensions

The L1, L2, and L3 vans have different exterior dimensions. Let us analyze them below:

  • Height – All three vans share the same exterior height of 1,910mm.
  • Length – The L1 Vito is the shortest since it is 4,895mm long. The L2 and L3 vans are 5,140mm and 5,370mm, respectively.
  • Width – When considering overall width, including mirrors, all vans are similar. They are 2,249mm wide.
  • Wheelbase – The distance between the rear and front axles is the wheelbase. The L1 and L2 boast the same wheelbase of 3,200mm. The L3s are slightly larger at 3,430mm.

2.  Mercedes Vito Load Area Dimensions

Again, the L1, L2, and L3 rental vans have varying load area dimensions inside the cabin. The load area refers to the overall room for your cargo. When considering the Mercedes Vito SWB dimensionsthe L1 model fits best. A short wheelbase (SWB) van has a short wheelbase and overall length.

It is 4,895mm long and has a wheelbase of 3,200mm. No wonder it is called Vito Short. Due to these dimensions, the L1’s load area is the smallest. See its maximum load area dimensions below.

  • Length – 2,586mm
  • Height – 1,391mm
  • Width – 1,685mm
  • The gap between the wheel arches is 1,270mm wide.
  • Volume – 5.8 cubic meters

The L2 is a large, spacious van. When looking for Mercedes Vito LWB dimensions, you should evaluate the L2. Also known as Vito Long, the L2 van has a wheelbase of 3,200mm, like the L1. However, its overall body length is larger: 5,140mm. To know if its load area can handle your group members’ cargo, check its maximum load area dimensions below:

  • Length – 2,821mm
  • Height – 1,391mm
  • Width – 1,685mm
  • Width of Wheel arches – 1,270mm
  • Volume/capacity – 6.3 cubic meters.

If you are traveling with a large group of people, the L3 Vito could be the best choice. Also called the Vito Extra Long, the L3 van has a body length of 5,370mm. Unlike the L1 and L2 vans featuring a wheelbase of 3,200mm, the L3’s is 3,430mm. Hence, it has the largest maximum load area dimensions.

  • Length – 3,061mm
  • Height – 1,391mm
  • Width – 1,685mm
  • Width amid the wheel arches – 1,270mm
  • Volume – 6.9 cubic meters

Even if the load areas between these panel vans differ, they have the same structure. They have a steel bulkhead, a sliding side door on both sides, and a typical rear barn door. Each van has fitted load lashing rings. However, you can get optional floor lashing rails and more for the side of the load area.

All vans have wooden or composite flooring material and hardboard load lining for the sides. They also feature an LED lighting strip to ensure you can still access the cargo area during the dark.

3.  Mercedes Vito Door Dimensions

As earlier hinted, all three vans feature a sliding door on both sides and one rear door. The Mercedes Vito dimensions for doors are equal on all vans. The side load door has a height of 1,252mm and a width of 985mm. Its rear door is 1,261mm high and 1,391mm wide.

The rear door is also the tailgate, which is uncommon with other cargo vans. The vans have a loading height of 588mm. This is the distance from your feet to the loading floor.

4.  The Highest Payload Capacity

It is essential to count a van’s maximum load capacity. This way, you can pack just enough cargo for everybody’s safety and comfort. The Mercedes Vito dimensions in this regard vary, as shown below:

  • L1- The maximum payload capacity for the L1 model is 1,029kg.
  • L2- The highest payload capacity for L2 is 1,002kg.
  • The Highest payload rating for the L3 van is 967kg.

The best Mercedes Vito trim level is the L1 if you want the highest payload. The maximum towing capacity across all models is 2,500kg if you have a braked trailer. If you do not, the total towing capacity is 2,000kg.

Selecting the Best Rental Van Based on Dimensions

Focusing on the Mercedes Vito dimensions when hiring a van for any activity is vital. First, it can help you select a van for ferrying everyone with their cargo. Based on the data we have shared above; you can choose a van that best suits your group’s needs like this:

  • L1- If you are a small group, the best van to choose is the L1. Up to nine people can sit on it but they cannot load a lot of luggage. The Mercedes Vito internal dimensions are a bit limiting regarding the load area. Offering a load capacity of 5.8 cubic meters, the L1 van is only reliable if your group is small.
  • L2 – The Long Vito is a good pick for many travelers who want to carry many bags. Its load area has a capacity of 6.3 cubic meters, which is large enough for your cargo. As a result, you can hire the L2 van for commercial and personal uses.
  • L3 – The Extra Long Vito is the best van for every activity. If you want to haul a heavy load, this van might help you more. It has the largest maximum load area by volume, length, and width.

As you have noted, the height dimension is constant on all three vans. When you have not loaded any of these vans, the maximum exterior height is 1,910mm. The vans’ maximum interior height is 1,391mm. After placing the cargo in the load area, the maximum internal and external heights should drop slightly.

Hence, do not consider height as a key factor when choosing between these vans. Instead, focus on overall body length, width, and volume. The larger your group is, the bigger the van should be.

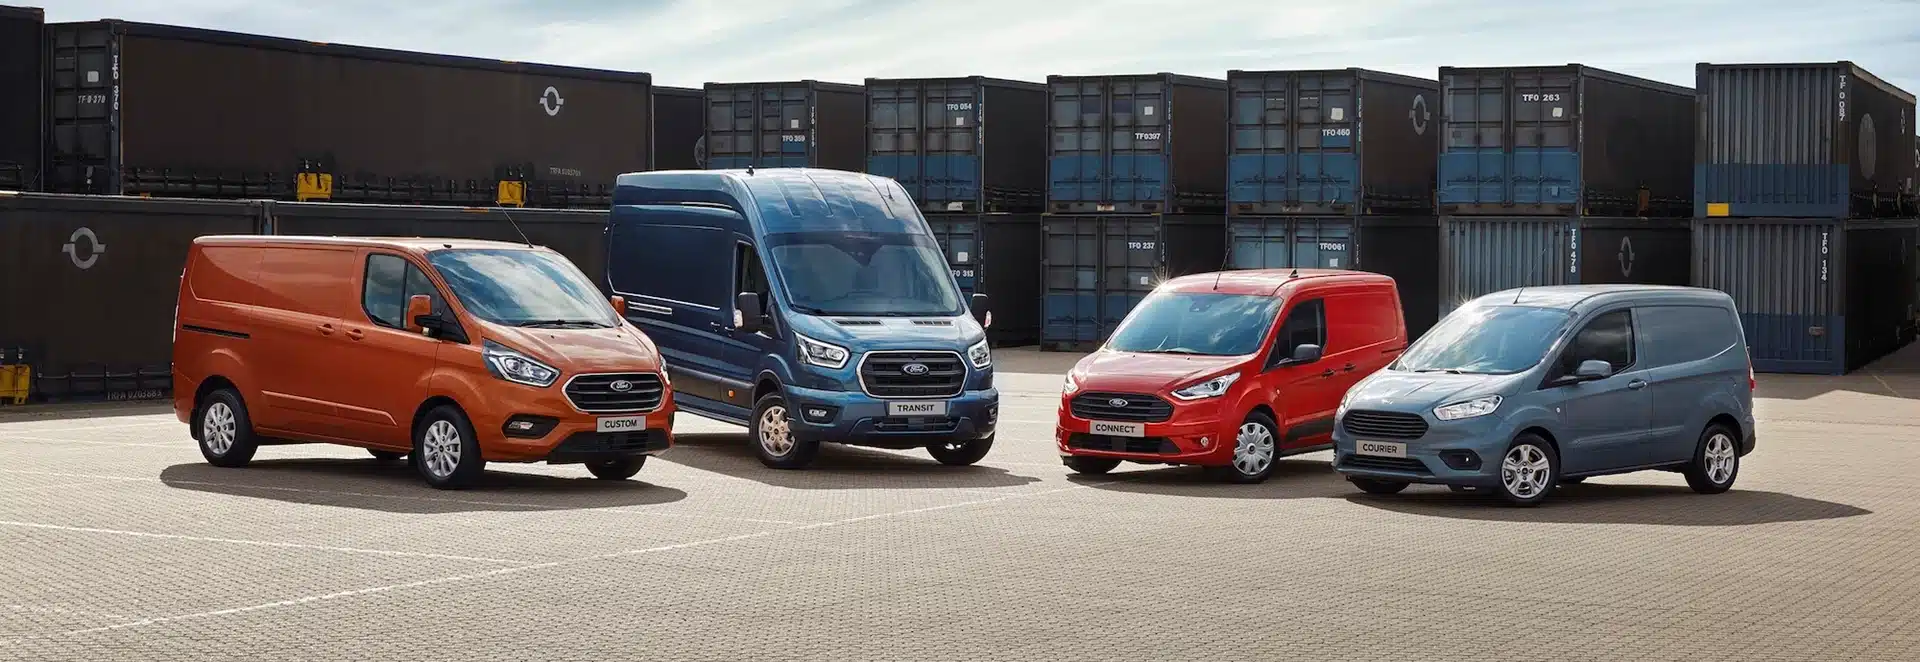
What Things Make the Mercedes Vito the Best Rental Van?

One must think about the Mercedes Vito dimensions when finding a rental van. It is the only way to know the option that can suit your group’s needs. Besides these, other things can motivate you to hire one of the three Mercedes Vitos, including:

  • Comfort – Mercedes Vito vans provide some of the most advanced internal features. First, your passengers will have adequate room for their heads and legs. These vans are suitable for long and short trips because of their comfort.
  • Flexible seat arrangements – Each van renter has unique needs. One person might want to fit more people than cargo. Another might want to carry many people and a lot of cargo. Still, you might want to ferry more cargo than the passengers. The Mercedes Vito allows you to arrange the seats according to your needs.
  • Safety features – Even if you can keep all your cargo and passengers in the Vito, you must drive them safely. Luckily, the Mercedes Vitos have advanced safety features. One of these is Active Brake Assist. It can alert your driver to potential risks on any road. The visual warning system will automatically decelerate the car when it detects some hazards. The tire pressure monitoring automatically detects the correct levels. The Active Distance Assist Distronic keeps the vehicle at a distance from the one ahead to ensure safety. If the driver is starting to get tired, the Attention Assist feature will produce an audio or visual clue. Lastly, the Lane Keeping Assist stops your driver from swapping lanes dangerously.
  • Versatility – Some rural routes can lead to bumpy, rough roads. A Vito has perfect craftsmanship to navigate through harsh road conditions. It will provide super smooth rides on tarmac roads even when loaded. Whatever situations you encounter on the road, the Mercedes Vito can handle them all. Even when driving through crowded streets and parking lots, this auto’s turning radius will amaze you.
  • Best interior features – Your passengers will enjoy sitting comfortably in the van’s cabin because of its advanced interior features. If they all love music, the van offers a quality sound system. Additionally, it has a big touchscreen for strain-free viewing. The air conditioning system keeps the van aerated depending on the current climatic conditions. If you travel in summer, the air conditioner will lower the temperatures to ensure everyone is cozy. If you take a trip during the cold months, the system will maintain warmth in the car.

Final Say

One vital consideration when hiring a van is the Mercedes Vito dimensions. All Vito models have similar internal and external height dimensions. If you plan to transport a large group of people and cargo, your top choices are the L2 and L3 vans. On the other hand, the most reliable SWB van is the L1. It can handle your small group’s travel needs.

The Mercedes Vito is a perfect rental van for those looking to travel as a

Swiss Vans

Van Leasing Explained

Looking for a brand new van? Have you considered leasing? If not, it’s probably because you don’t know how it works and all the benefits it brings. Our step-by- step guide will explain exactly how leasing works, from finance options right through to delivery of your dream van.

Swiss Vans

Trust pilot Reviews

Don’t just take our word for it. We’re rated at 4.9/5 on independent reviews website Trustpilot from over 34,886 genuine customer reviews

Scroll to Top